
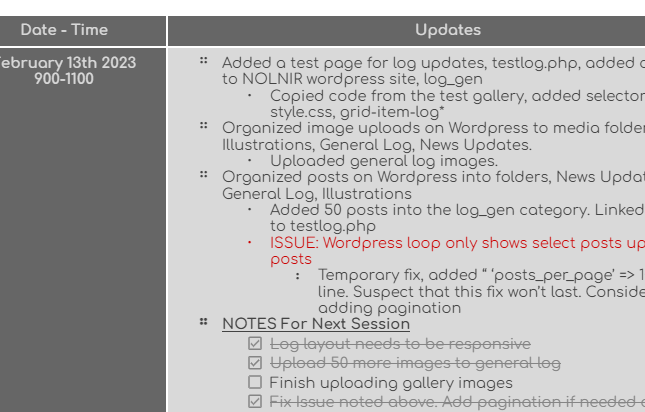
I closed the website in February to work on updating it all month long. (it’s been 2 months at this point LMAO) Luckily I kept a detailed log to tell you about my process!
Prologue
Around sometime mid 2022, I figured that NOLNIR needed a facelift but couldn’t dedicate time to making that happen. I didn’t want to stress myself out over it so I figured I’d get to it sometime this year. After recuperating from my PC shitting itself on me, the first thing I set out to do was write a road map for what I needed to accomplish while the website was down.
Planning the Attack
One thing I’m good at doing is planning! I even had to plan around my terrible habit of losing myself when something doesn’t go according to plan…. ^^; I wrote down all the things that needed updating, and un-surprisingly enough, a lot of it was back-end issues: things that typically would not be seen by the public but keeps the website functional. There was a lot of content on the website that needed to be migrated instead of added. The front-end fixes and adjustments came later in the process; it only took a couple hours of work to get done.
STEP 1: Finding a New CMS
I spent so many hours researching various CMS and which one was best for my needs; I even installed a few and had to wipe them once I figured they weren’t for me. Last year, I tested the validity of a specific CMS that I had my eyes on but wasn’t sure it’d work… but it did! I thought it’d be a temporary temporary fix because I had set out to find a better CMS this year, but it turned out to be a better choice than anything else I’d tried. This was when I decided to close my website for further work.
The CMS I was previously using was CuteNews. This CMS was Ol’ Reliable for me. I had heard of CuteNews when I first started messing with code back in 2007; a lightweight CMS that didn’t require much on setup. It even integrated into your website seamlessly with very few lines of code. I had to stop using CuteNews because the system hadn’t been updated since 2013; it kept crashing and I kept having to fix it up whenever it did. Some of yall might know this but, not updating anything used for web development for even just a month can make it outdated and finicky. I’m surprised I even kept using it all the way until halfway into 2022. :’)
My new CMS of choice is WordPress; it handles all the homepage news and illustration/log updates. It’s quite nifty as it does everything that I don’t want to do manually. What’s also pretty neat is that I can integrate the uploads with IFTTT so that any update can be relayed to NOLNIR Nonsense without me having to lift a finger. (Sidenote: Ever since finding out about IFTTT, I’ve been all about automating things so that I don’t have to be in 500 places at once. I’m busy so I want to focus on more important things!! Like playing video games! And sleeping!)
How was I able to integrate WordPress onto my website so seamlessly?
Well,
I found out I could hack WordPress into being headless–meaning that I won’t exactly use the frontend part of the CMS but will rather organize the information on the backend to be called onto my website. I had to write a very simple query that’s maybe…5-10 lines?–and this query is used to gather the information from the backend to display directly onto my website. WordPress’ dev team calls it The Loop.
Finding all this information was a eureka moment for me; this is exactly what CuteNews was—a headless CMS! This explained why it was so hard to switch to a new CMS!! Other CMS don’t quite fit the bill since they make you use both the backend and frontend portions of the system. Listen, I’m stubborn and HATE the templated look. Most CMS have templates that are either too much, not responsive enough or just do not fit the style I’m looking for, so much so that I usually go into the template files and fix it up myself. I even did it with this blog’s template. The vanilla version of this template was nice but not what I wanted, tch!
But look! I made it work for me! I really love how it turned out. I’m happy with the way the updates are aggregated and the galleries feel a lot more sleek and fresh! Yay!
STEP 2: Cleaning Up the Code
Because I’m very inefficient when it comes to coding, I noticed that there were a lot of temporary fixes I had applied to portions of the website that I didn’t even realize were kind of… clunky. I don’t look at my code often since it’s so tedious to make any kind of update. It also didn’t help that I don’t leave too many notes in my own code. Navigating it can be a nightmare sometimes. I’m doing everything wrong as a web developer!!—Which brings back the point of me keeping this kind of stuff as a hobby! ^^; I had to clean it up and reorganize everything just so that I don’t feel like screaming every time I need to update something.
There were a lot of frustrating parts to cleaning up the code, but one thing that really irked me was how I just… never had proper selectors for everything? I also found a bunch of selectors I didn’t even use… taking up bandwidth without pulling your own weight around here, huh! Delete! Delete!! Delete!!! I got the selectors all cleaned up and organized, left proper notes for everything and moved onto the next task; cleaning up the scripts!
I’m not sure why I never even thought to do this since I already do this with my stylesheet, but I didn’t have a separate folder for scripts. Again, making the code look clunky and unorganized, I just had scripts lying everywhere. I gave each script its own file and slapped them in a folder and referenced them in the code. But then that lead to a lot of scripts…. not….working…..
Why.
I actually found out why and, well, let’s just say I was very ready to give up after finding out. Normally, we’re told to reference our scripts in the <head> element so that they load before everything else, right? Well, other scripts have to go at the very end of your code depending on what it is. I found this out the hard way when I spent maybe 2 days looking for a solution to why the scroll-back-to-top script and modal pop up script weren’t working. I kid you not, this shit took 2 days for me to find out: The script goes at the end so that it doesn’t load faster than the elements it needs to reference.
Fucking……aye.
This was when I began to keep more detailed update logs, like the one I showed earlier, referencing exactly what files I had changed and what was changed within them because this broke me. Two whole days wasted only to find out the placement of the script was incorrect. SIGH. Moving along.
The last part of cleaning up my code involved me cleaning up the way my pages loaded. I will admit, I liked the seamlessness of tabbed content already being included without having to load new pages, however some pages needed to be loaded up separately to allow for caching to speed up load times. Also remedying slower load times, I added pagination where needed. My website was already really sluggish, but adding all the new things through CMS integration made it even slower. I’m impatient and I’m sure a bunch of other people are too, so this was a hugeee focus for the update. While working to speed up the load times and properly paginating everything, I noticed how jarring it was to load a brand new page. It loads quickly but also the jump-cut was not it; like an information jumpscare or something LMAO. I added in a fae-in effect so that the jump-cut feels less jarring and is easier on the eyes! 😀
Cleaning up the code was probably the most tedious part of this entire update; it was frustrating, slow, and took up way more time than I needed it to. HOWEVER, it was probably the most important part of the update. These things are backend and no one is really going to see it except for me, but a messy code can really mess with everything else on the frontend.
STEP 3: New Art!
This went by a lot more swiftly than the other parts of this entire update because, well, this is the only thing I’m really good at. It took little time to come up with what I wanted to update and figure out what these things would be used for. I really took my time, especially with the landing page illustration:
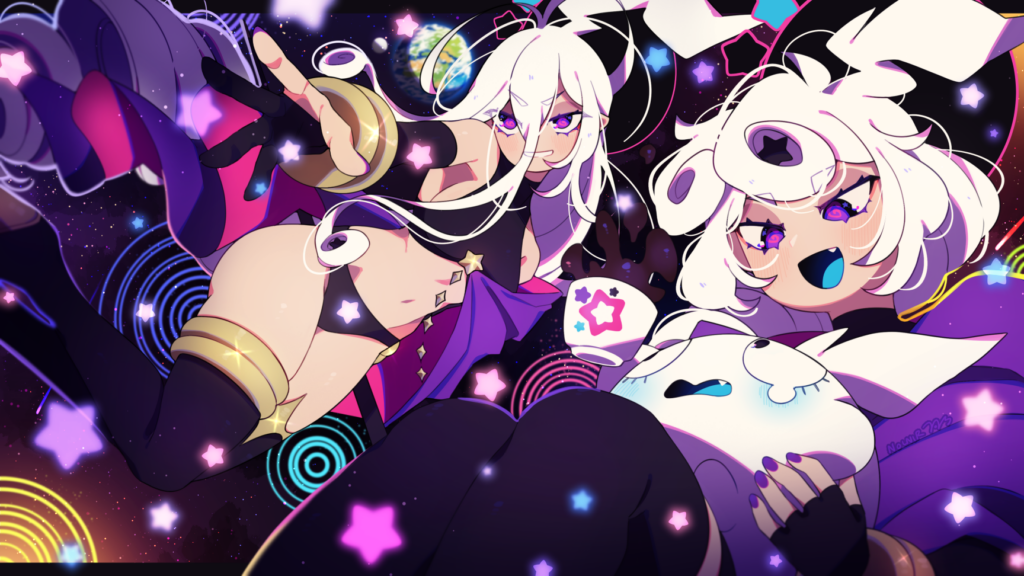
I wanted to make an illustration that encompasses my mascot character, Atlas, so why not Atlas³? I plan to make more illustrations similar to this in the future, maybe with a randomizer just for the landing page…. Anyways, the process video for this illustration is below. Take a look!
I even went further and made new images for other parts of the website as well:
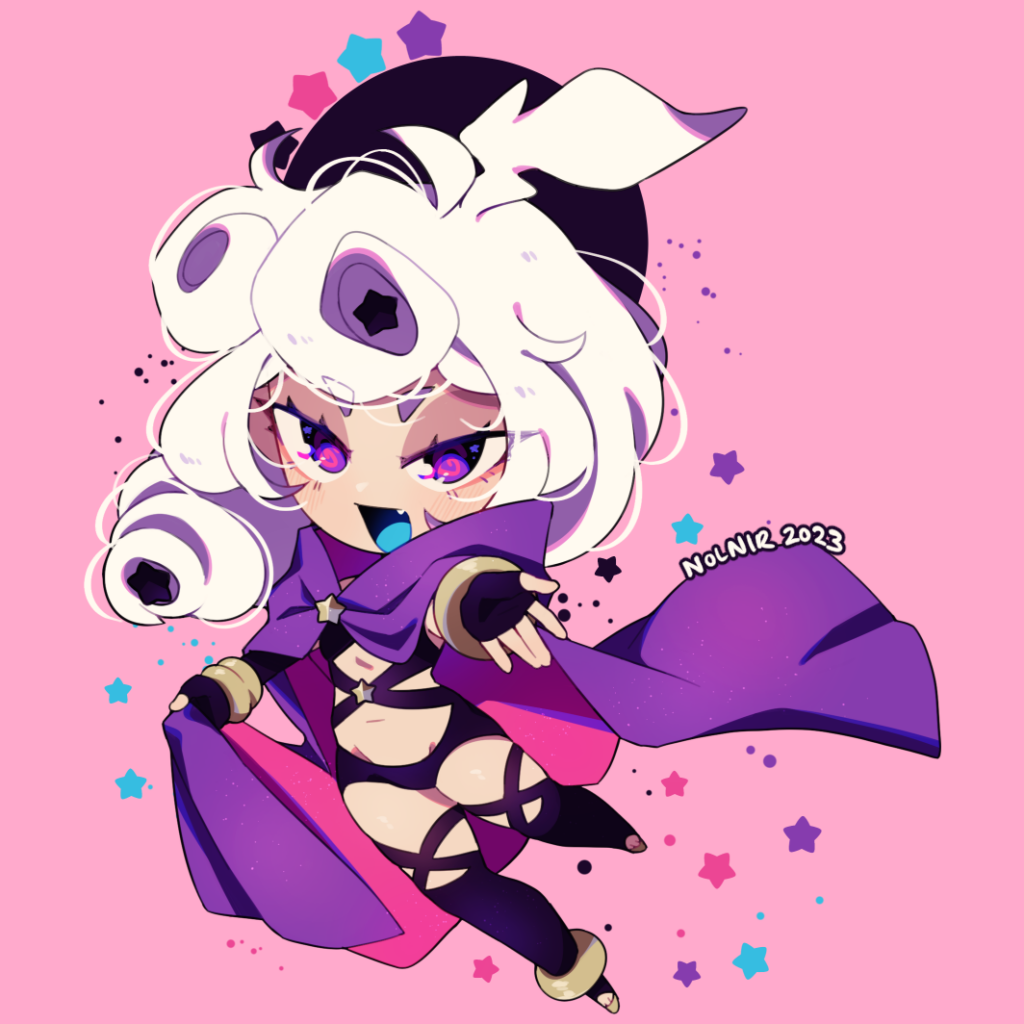
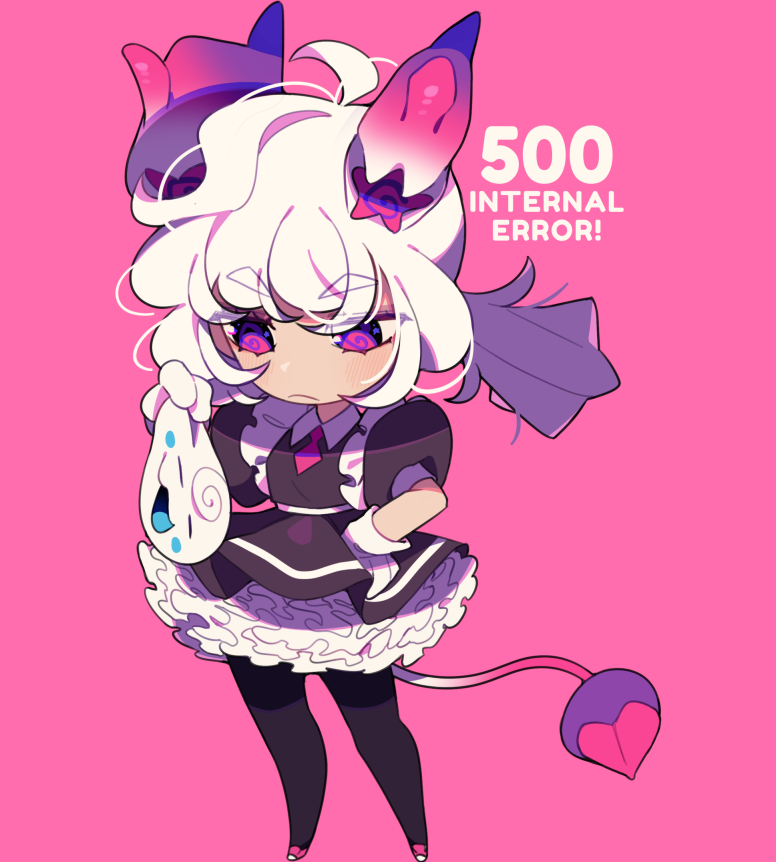
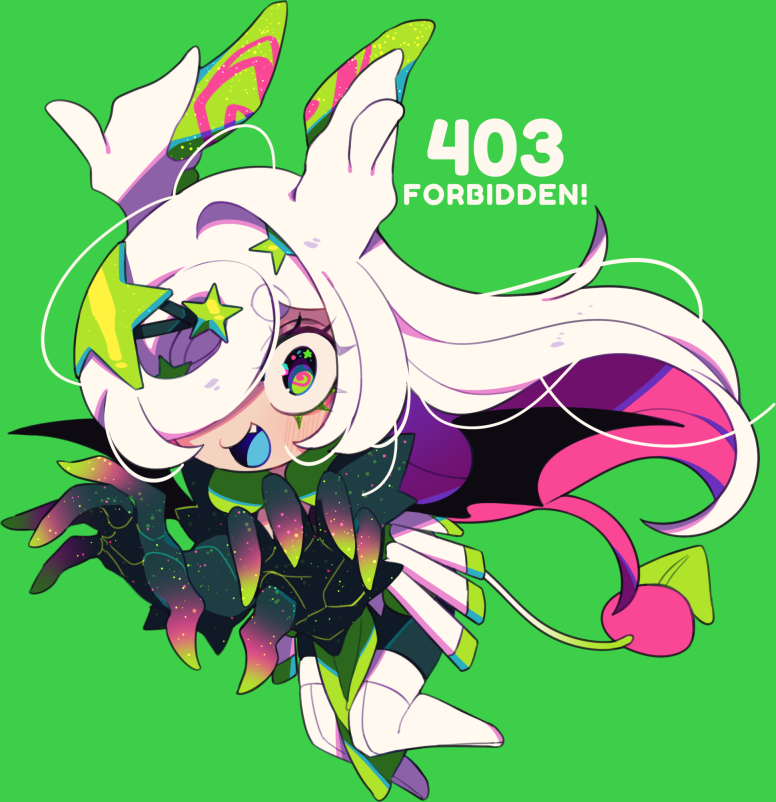
Trying to make the website a bit more cohesive with mascot characters, I decided to stick with Atlas and her daughters again. Did I mention that I’m making employee profiles for them on NOLNIR Shop? Sterope and Kelaino in their warrior attires while Alcy is wearing a maid uniform sewn by one of the daughters of the affluent family she works for.
STEP 4: Updating the Pages
This wasn’t the last thing I did, but rather I updated pages as I went along with cleaning the code… but for the sake of this blog entry, let’s just say it was the last thing I did 🙂
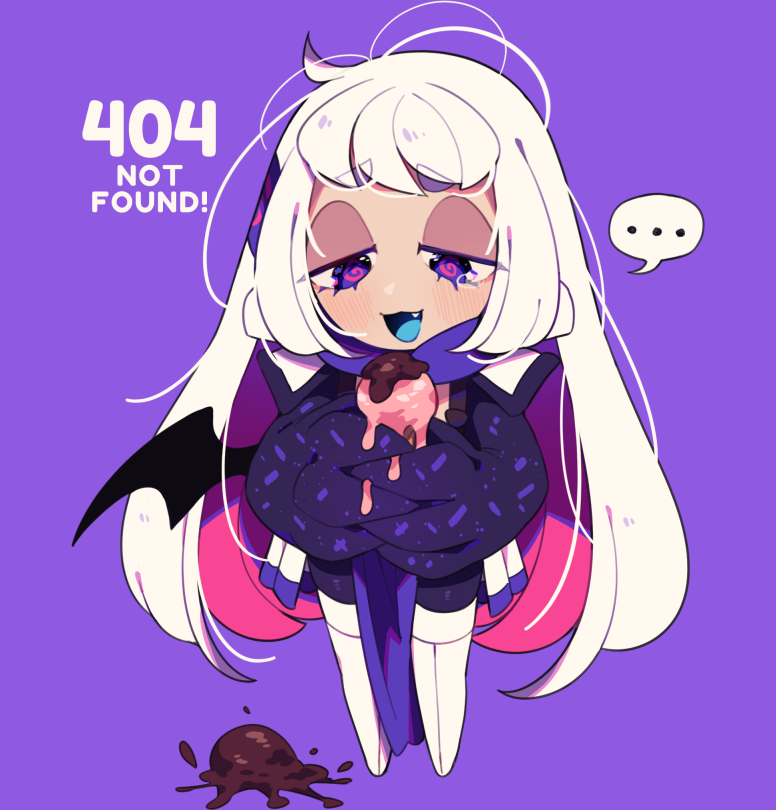
I had a lot of outdated content on the website. From illustrations missing from the gallery to the log not being updated for what seemed like a century. I made plenty of long overdue additions to the gallery, logs and about page. One nice thing about the gallery and logs is that the thumbnails are now generated with the actual file and not a separate file for just the thumbnail. Unfortunately this meant that anything NSFW that I may have uploaded to the website would have to be censored by code so people can have a SFW browsing experience. Again, I had to hack WordPress to make it work…! I’m very proud of this one because it took 2 sessions to figure out! Look, look at this!!!

Haha! Ahem, anyway. I use this for every and any image that may be posted to the website. Now you don’t have to worry about a fat ass on full display when you load up the homepage while in public. Nice.
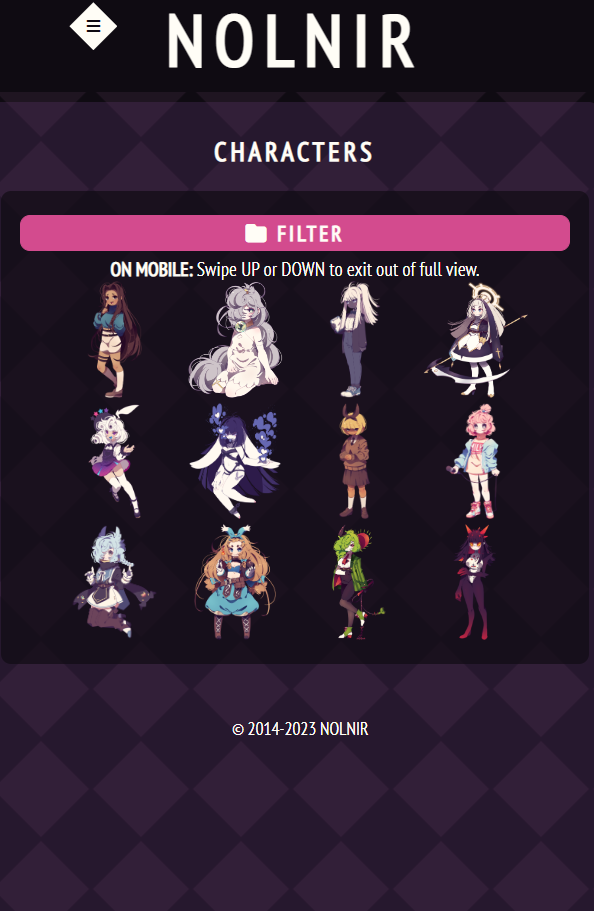
I also decided to use a similar way of displaying images for the characters page: using the full artwork and sizing it down instead of making a separate thumbnail. At first I thought it wouldn’t work but I think having the full image be a thumbnail was way more productive than hiding them behind a thumbnail. It makes browsing way easier, showcases my characters in full and leaves people not guessing what they’re looking at when they see a thumbnail of the character. NICE.
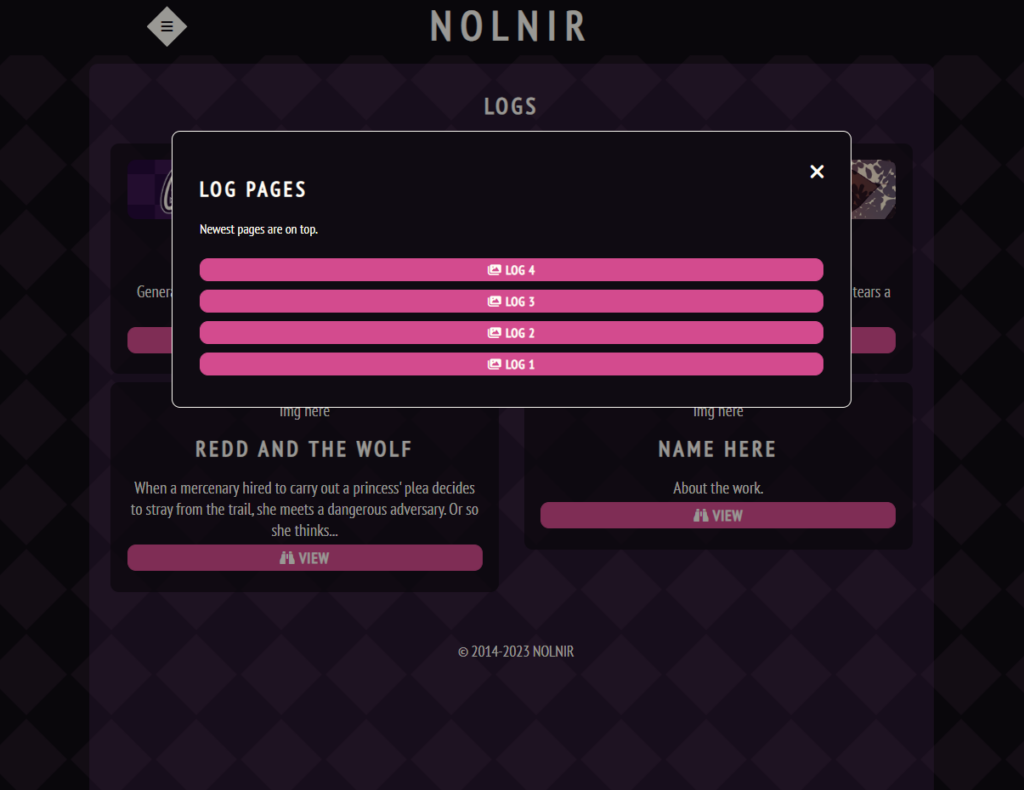
Next up was fixing the log banners and adding a little information about the logs. I feel like this was long overdue… normally I just add things to the website, but giving a little context and story to whatever I upload shouldn’t hurt. I only slightly enhanced the layout of the page, making clear separations between the links, highlighting the title better, adding a short description and even adding a directory for the general log.
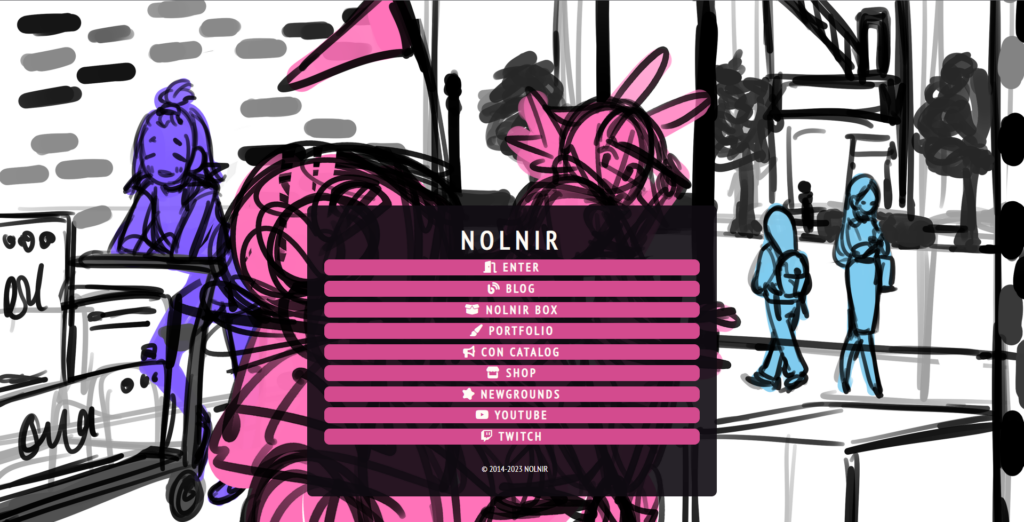
Last update is probably my favorite… I wanted to make a brand new layout for the landing page. While having a chibi of any one of my characters was nice, I think having a full illustration in the background makes the landing page much nicer. It’s also easy to swap out illustrations just in time for various occassions and really make the landing page stand out. The links are now fully centered on desktop. I think this is much cleaner, yeah? Yeah!
STEP 5: Adding Some Kind of Notification Service
I was asked about this after announcing my departure from Twitter. Having RSS for the website’s updates is a great way to go, considering I already use WordPress to update my content. Why not use the system to it’s fullest capabilities, right? Yeah…
I had to do a bit of research on this before confirming that this will be a thing, and to my not-surprise, it was indeed a thing I could do. Has WordPress been this versatile the whole time?? I can’t believe I actually overlooked it for this long.
Point is, RSS is available for all portions of the website that are organized by WordPress on the backend. Isn’t that neat? These notifications get pushed to the Discord server as well, which is pretty cool! Love having things automated for me!
Final Thoughts
Putting a lot of thought and effort into this mini-project felt nice, especially after months and months and months of not having worked on anything for myself, not even a mini-project like this one. Allowing for all these minor issues to accumulate in this manner only reminded me that I have a bunch of unfinished work I had started a while back. Since I’m in the position to do so, I’m more than ready to tackle these projects and finish them! This was a nice reminder to just have fun with things like I used to and feel proud of the effort I put into whatever I work on, even if I don’t think it’s as cool as someone else’s work. I missed being creative in ways other than art…
I’m a lot more patient these days, so I’m more willing to take on projects that take a little more time and effort. This might be a sign that I’ll be able to put out cooler things in the future!